
Multimedia Coordinator John Eder shares his nighttime photography tips below each of his photos.
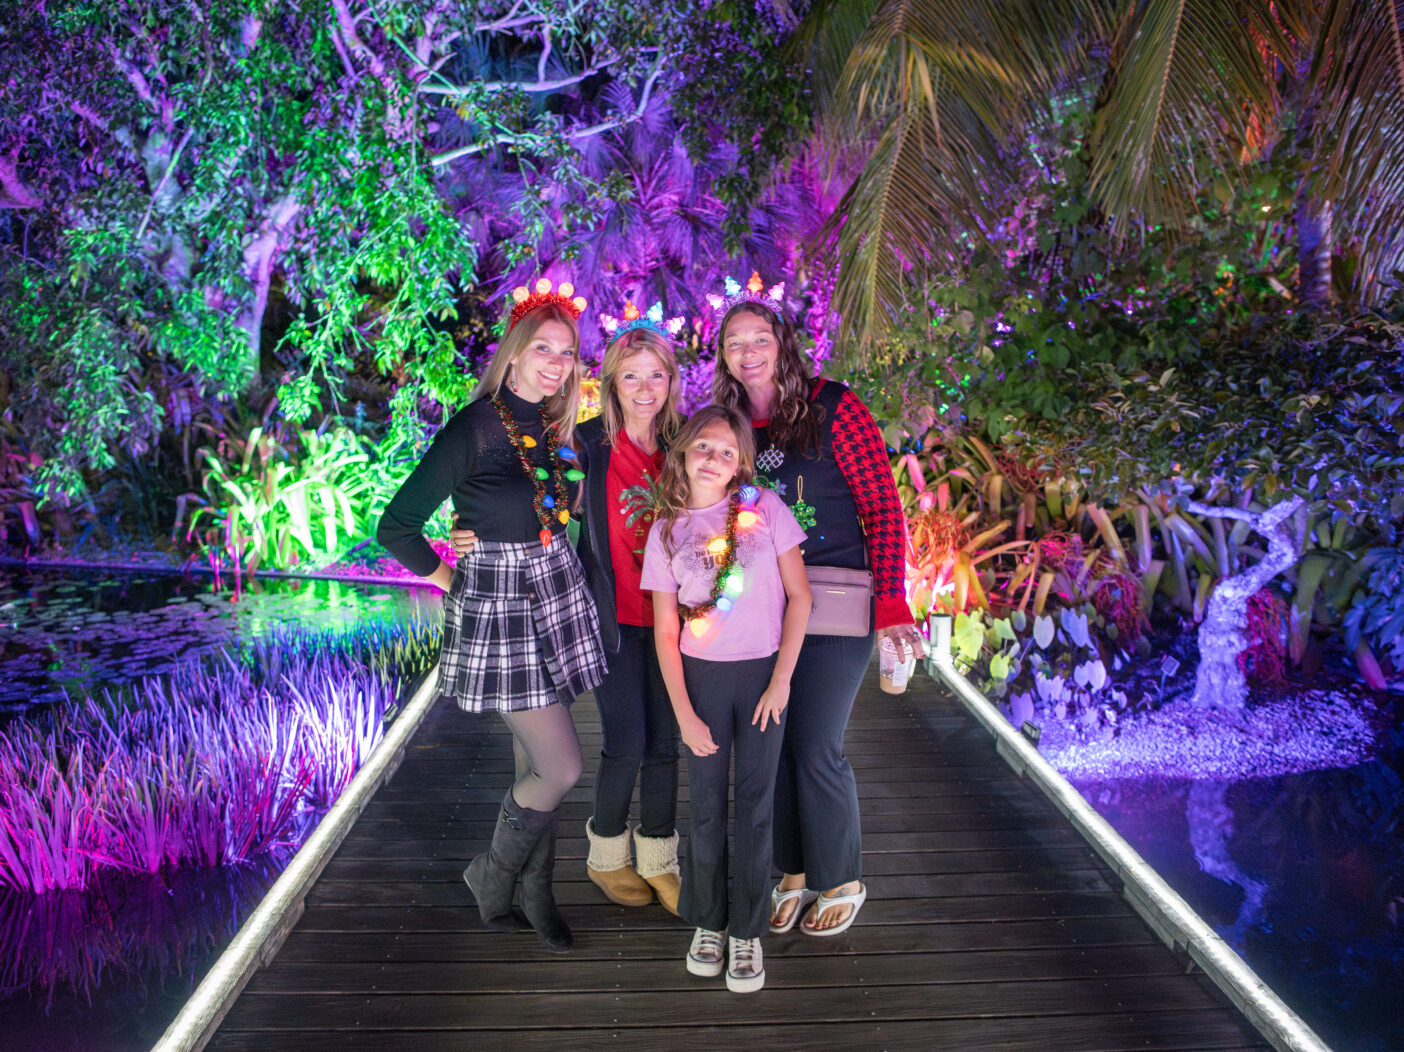
“This photo, above, mixes flash with the underlighting on the boardwalk to really light the subjects’ faces, while preserving the vivid colors of the lights in the background.“
You’ve set the date and time, you’ve invited the family and friends, and you’ve got your tickets to Johnsonville Night Lights in the Garden. What are you going to do now? Prepare yourself to capture all the memories you’ll make, of course! Night photography can be a bit of a challenge, especially when the lights of winter in the tropics are glowing all around. You can experiment with your phone settings ahead of time to ensure that you are all set to take some wonderful photos on the night of your visit.

Here are some tips to help you help your phone take the best photos it can take:
- Clean the lens! Yes, we know this is VERY basic advice, but it will go a long way toward less blur, more magic. A soft cotton or microfiber cloth, such as what you use to clean your glasses, will work just fine.
- Find your phone’s night mode and flash settings. Finding settings will vary from phone to phone. For instance, on the iPhone, you’ll find the “night mode” icon, a little moon shape, when you open the Camera app. It may activate all by itself in low-light situations, or you may have to tap the moon to activate. The flash icon on the iPhone is a lightning bolt; a slash through it means the flash is off, while no slash means it is on. Just tap it on or off. Android phones also have night photography settings. For Google Pixel, open the camera app and find Night Sight. For Samsung Galaxy, open the camera app and select More, then Night. To access precise instructions for Android cameras, please check the webpage for the make and model of your particular Android phone.
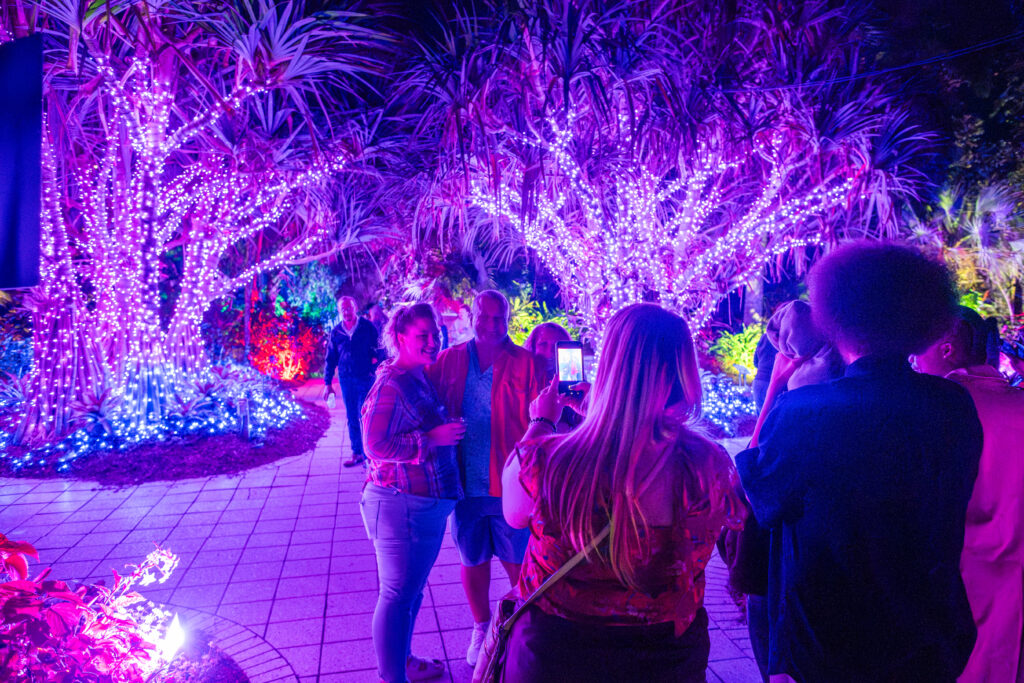
- Avoid “backlighting.” When you photograph people with lots of bright light behind them, their faces may turn dark and unrecognizable. While you might be able to adjust for this by using flash, that might also result in a washed-out photo. You can experiment by taking photos with and without flash. You can also scout for spots where there are bright lights shining on faces as well as in the background.
- Lock in your focus. On many phones, you can press a finger on screen to lock in your focus. When you let go, you may also see a sun icon that you can drag up and down to adjust the light.
- Hold that pose! Low light + movement = blurry photos. Advise your subjects to strike a pose—fun, serious, whatever the mood—and stand still to improve the sharpness of the images you capture.

- Ask a Garden staff member to take the shot. Like most family and friend groups, there is usually one person who is rarely in the photo—because they are nearly always the photographer! Get a shot including ALL of your posse by finding a staff member to assist. While most of us are not professional photographers, we are all happy to help you preserve your cherished memories.
John’s Go-To Johnsonville Night Lights Photo Spots
- Bromeliad tree – Smith Entry Prow
- Lighted bamboo tunnel – Lea Asian Garden
- Performance Lawn
- Between the curved palm and chickee hut – Scott Florida Garden (it’s worth the walk!)
- Kapnick Brazilian Garden Lawn (with views of the Burle Marx Mosaic for the ultimate backdrop)
About the Author